|
What's covered? Hide |
ServMan offers its own integrated and automated solution for sending and managing technician profiles. ServMan's Meet You Tech solution provides a user-friendly web portal for managing your technician's information and photographs, and it supports automatic delivery of the profiles to your customers by text message or email, using your specific workflow rules.
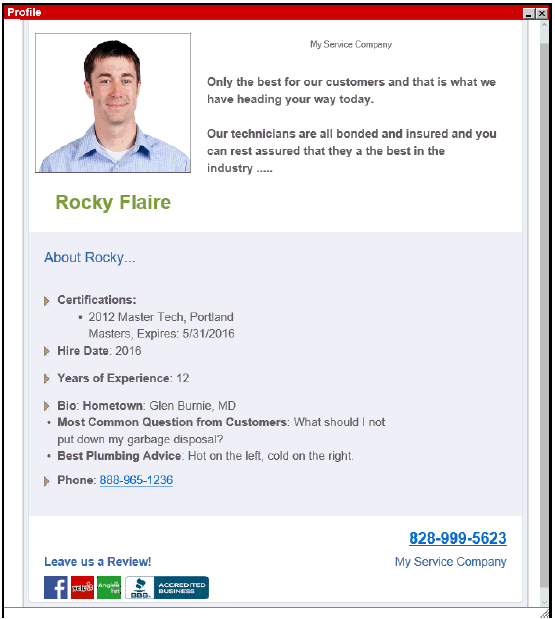
Meet Your Tech uses ServMan's APPAA (Automated Pre-Post Appointment Assistant) to send the emails/text messages directly to your clients, which must be installed prior to sending the Meet Your Tech profiles to your clients. An example is shown below. Please contact your ServMan Representative for further information.
With the release of version C.95, Servman has added the ability to specify if an employee should have a record on the Meet Your Tech website. ServMan will monitor changes to these employees and auto update their Meet Your Tech profile.

Once APPAA has been installed and your Meet Your Tech account is enabled, you will need to set up your Company, Branch, Department and Tech information. To do so, follow these instructions:
Navigate to www.MeetYourTech.com

Click Login found in the top black bar on the far right. Enter your email address and the password ServMan has given you. (This password can be changed when you finish the login procedure.)
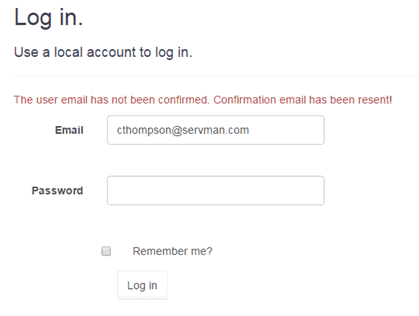
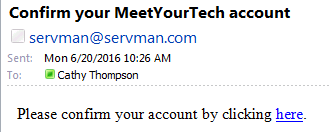
Check your email for a confirmation email and click the link to confirm your email address.
This will direct you to the confirmation page where you will click the link to log in.

Press the “Forgot your password?” link to change your password and follow the instructions on the page to complete this step, if desired.
Click on the Admin dropdown in the black bar and select your company name

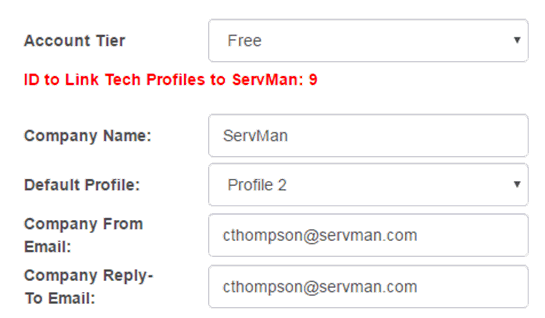
Your Account Tier will be set by ServMan. Contact your ServMan Project Manager for more information on Account Tiers.
ID to Link Tech Profiles to ServMan: This number must be entered on the APPAA tab of Program Settings and Defaults in your ServMan company.
Company Name will be set by ServMan.
ServMan provides 2 default Profiles for your use. If you choose to create a new profile, see your Project Manager for requirements.
Enter your "Company From Email”. This will be the email address the client sees when they receive your email.
Enter a “Company Reply To Email” address. This email should be continually monitored by someone, as a response to a Meet Your Tech email, could be time sensitive.
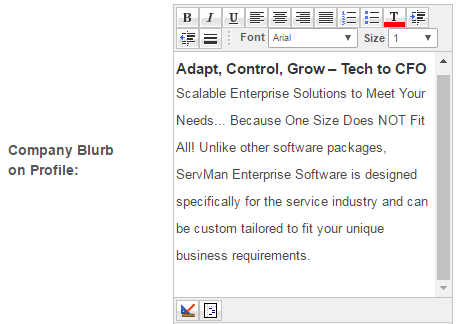
Enter some overview information about your company. This will be displayed in the email.
Use the text editing tools above the box to format your text appropriately.
NOTE: These formatting tools work properly ONLY in Internet Explorer.
Finally, enter the Primary Contact and company information as requested.
Choose the logo file you would like to appear in the email.
There are 5 large blue buttons to the right of your company information. These links will be use to set up Users, Branches, Departments, Techs and Links to various Social Media Sites.
Pressing the User button, will allow you to set up new users to assist with your “Meet Your Tech” website. Roles must be assigned that will allow the user to be an administrator of the site, edit the information or simply view the information on the site.
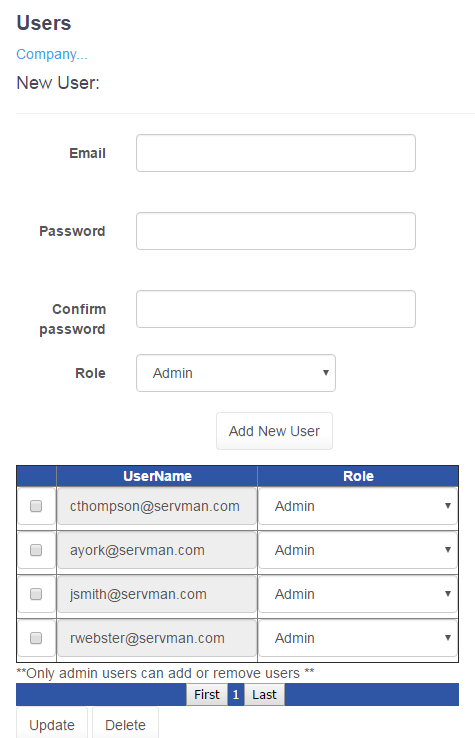
When completed press your browser's back button, the blue word Company..., or select your company from the Admin dropdown to return to the previous page.
The LINKS button allows you to set up links contained in your email to your various Social Media sites.
The default Link Type is to your Company Website.
The Link Text is what is displayed when you hover over the link in the email
The Link is the URL of your website. (For example: www.servman.com)
The Link Icon is your logo file. Press the Choose File button and navigate to the logo file you want to upload.
Social Link Icon Location is only for Social Media sites and is not valid for the company website.
Press INSERT – not Update! (Update is for making changes to the information after it has been inserted.)

Select the dropdown in Link Type to view and set up additional Social Media sites, if desired.
Required fields for Meet Your Tech emails/texts are Link Type, Link Text, Link (URL must be valid), and for Social Media sites only, the location where you want to display the icons/links.
Press Insert after adding each link. (Use Update after making changes to an existing record.)
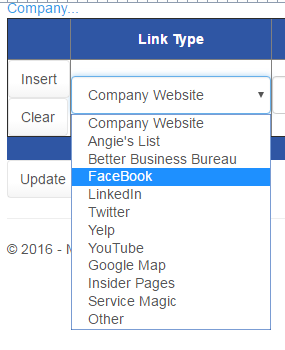
NOTE: All Social Media sites listed have default icons. If you want to change them, click the Link Icon/Choose File button and select a different one.

When completed, press your browser's back button, the blue word Company..., or select your company from the Admin dropdown to return to the Edit Company page.
Press the blue Branch button to enter your branch information, if desired.
Enter the branch name and requested information for that branch.
Press Insert to save this branch file.
Continue until all branches have been added. Note: Branch records are not required. Create them only if you have different information you would like to send based upon a branch.
When completed, press your browser's back button, the blue word Company..., or select your company from the Admin dropdown to return to the Edit Company page.
Press the blue Department button to enter the department name and requested information for that department, if desired.
Press Insert to save this department file.
Continue until all department have been added. Note: Department records are not required. Create them only if you have different information you would like to send based upon a department.
When completed, press your browser's back button, the blue word Company..., or select your company from the Admin dropdown to return to the Edit Company page.
Press the blue Tech button.
Notice there are links to edit your Company, Branch and Departments in blue at the top of the page. Press those links to navigate to the page selected..
When Add New is pressed, additional fields, similar to the Company setup, will appear.
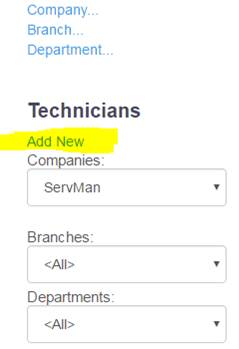
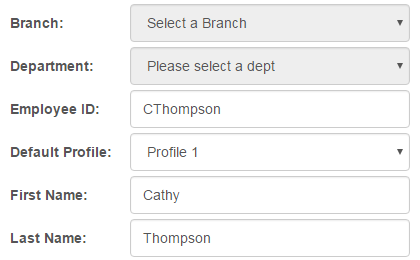
Select a Branch and/or Department if desired.
The Employee ID MUST be the same as ServMan’s employee ID for that tech.
Choose from the 2 default profiles provided (or your custom one).
Enter the First and Last Name as you want them to appear in the email.
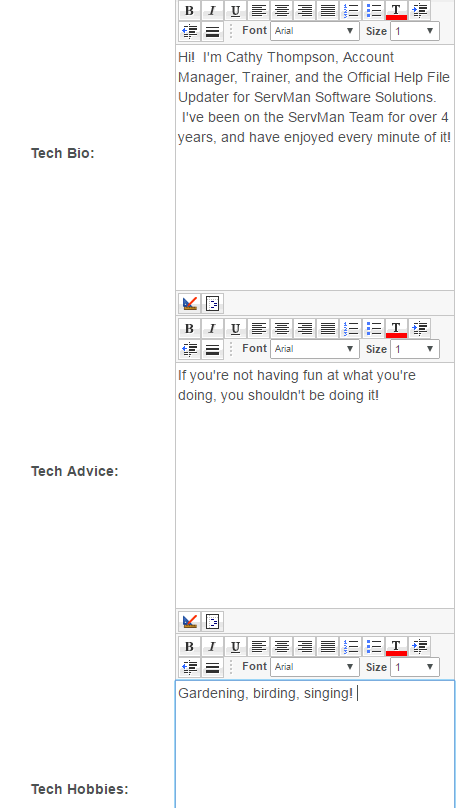
Enter in the appropriate information for the Tech Bio, Tech Advice, and Tech Hobbies sections.
**Remember that the formatting tools can only be used in Internet Explorer.
Enter Hire Date, Years of Service, Phone number and Email address if desired.
To select a Tech Photo, press Choose File to navigate to it's location for upload.
When completed, press your browser's back button, the blue word Company..., or select your company from the Admin dropdown to return to the previous page.
The most efficient way to send Meet your Tech information to your clients, is to subscribe to ServMan's Automated Pre/Post Appointment Assistant (APPAA) service and let ServMan send the texts or emails for you. The notifications are sent when the tech changes the status of an order to Enroute. No need to worry if you have to change the tech after the notification has been sent, Servman will send the new tech's information once the new tech is enroute. If someone accidently changes the status to enroute, flips it to something else and later changes it back to enroute, ServMan knows you already sent the information, so it will not be sent again.
You also have the option to manually send the tech's information from the Meet Your Tech website.
Navigate to the Technicians page
Right-click on the tech who will service the order and select Send Email. (The Send Text option is not available through the website.)
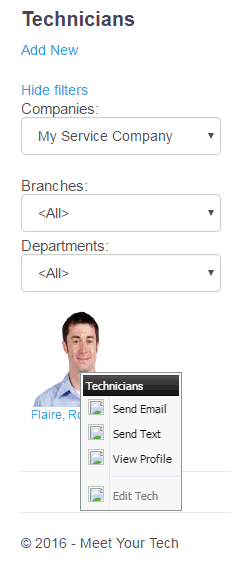
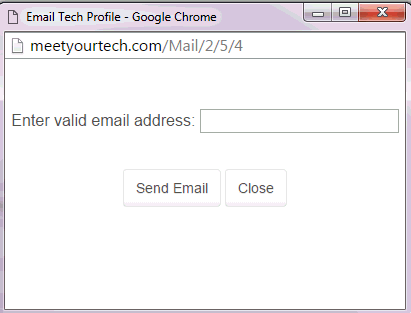
This will pop open a new screen where you will enter the client's email address and press Send EMail.
